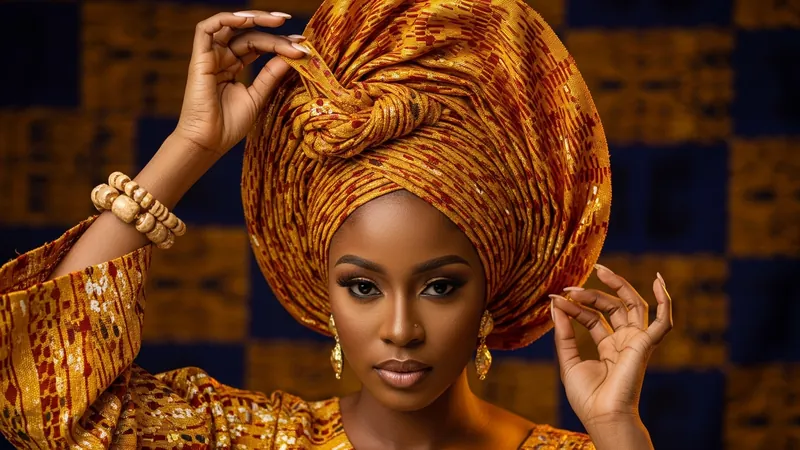
The gele is not an accessory. It is the crown of the look — the punctuation mark at the end of a sentence that has been years in the making. A poorly tied gele on an otherwise perfect outfit reads like a misspelling on a formal invitation. A perfectly tied gele on a simple wrapper transforms the whole ensemble into something regal.
The good news is that tying a gele is a learnable skill. The first few attempts will be instructive in ways no guide can fully prepare you for. But the principles are straightforward, and once they click, you will wonder why it ever felt intimidating.
This is the guide that gets you there.
What You Need Before You Start
The gele fabric is not the same as the wrapper fabric. It is a stiffer material — often an Aso-oke weave, a stiffened Swiss voile, or a structured sego — precisely because the stiffness is what holds the shape. A soft, flowing fabric will collapse.
For your first attempt, choose a sego or standard gele fabric that is at least 1.5 metres long and roughly 60–75 centimetres wide. Wider fabric is more forgiving. Narrower fabric requires more precision and is better left for when you are already comfortable with the technique.
You will also need:
- Bobby pins or gele pins — hairpins designed to grip fabric folds without leaving marks
- A full-length mirror, ideally positioned so you can also see the back
- A hair band or low scarf to keep your hair flat at the base
Your hair matters too. A flat base — braids laid low, hair pressed back, or a smooth bun pressed close to your head — gives the gele structure something stable to grip. A high bun or loose hair creates a shifting foundation that will fight you the entire time.
Tying the Gele, Step by Step
Step 1 — Establish the base
Fold the gele fabric in half lengthwise. You are now working with a long, firm band roughly 30 centimetres wide. Place this band across the back of your head, letting both ends hang forward over your shoulders. The fold should rest against the nape of your neck, and the band should sit two to three finger-widths above your hairline at the front.
Step 2 — Create the first wrap
Bring both ends upward and forward, crossing them once at the front of your head. This cross is the anchor for everything that follows — pull it firm, not tight. You should feel it sitting securely without pressing on your temples.
Now loop both ends back behind your head, cross them again at the back, and return them to the front. You have used roughly half the length of the fabric at this point. The wraps should lie flat and even.
Step 3 — Build the fan
This is where the personality of the gele takes shape. Take the remaining length of fabric and begin folding it accordion-style — forward, back, forward, back — creating a series of even pleats roughly 8–10 centimetres wide. The pleats do not need to be identical. They need to be deliberate.
Once you have your fan of pleats, position it at the front and top of your head, angled slightly back from your forehead. Use your pins to secure the base of the fan to the wrapped layers underneath. Start at the centre, then pin each side. Pin deeply enough to feel secure, but not so far that you are pinning into your scalp.
Step 4 — Finish and adjust
Tuck any loose ends underneath the wraps at the back or sides. Use additional pins wherever the structure feels unstable. Step back, look at both the front and the profile view, and make adjustments — lifting the fan, redistributing a pleat, evening out the height on each side.
The goal is a shape that looks intentional: structured, slightly asymmetric in the way handmade things always are, and tall enough to hold its presence in a room.
Common Mistakes and How to Fix Them
It keeps slipping forward. Your base is too smooth. Wrap a non-slip headband around your hairline before starting, or ensure your hair is pulled into a wide, low bun that gives the fabric something to grip.
The fan will not hold its shape. Either the fabric is too soft, or the pleats are too shallow. Stiffen a limp fabric by lightly starching it the day before. Deepen your accordion folds and make them closer together.
One side sits noticeably higher than the other. This is almost always a pinning issue. Remove the pins, re-even the fan by hand so both sides are level, then re-pin starting from the centre and working outward symmetrically.
It looks flat from the side. Push the base of the fan forward slightly and tilt the whole structure back. The height of a gele comes from the angle of the fan, not just the number of folds you put into it.
Matching the Gele to the Occasion
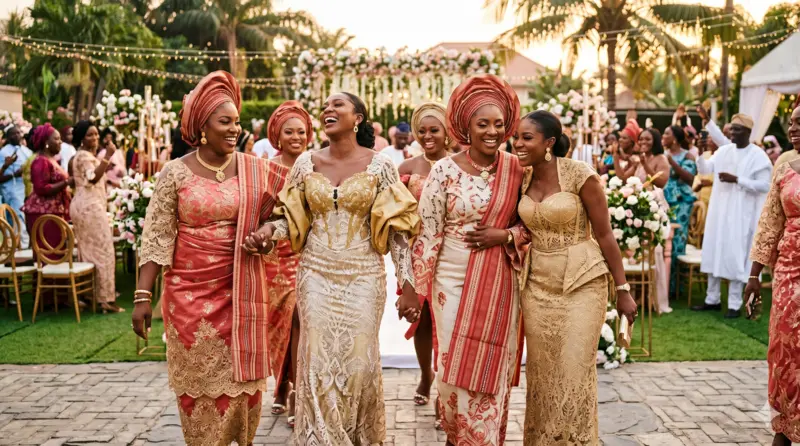
At a traditional wedding or owambe, the gele should be tall and architectural. Full Aso-oke, completely fanned and securely pinned, is the standard. This is the occasion for drama — let the height do its work.
At a church service, naming ceremony, or daytime celebration, a lower, more compact shape is appropriate. The fan can be tighter and more restrained, the overall silhouette elegant rather than imposing.
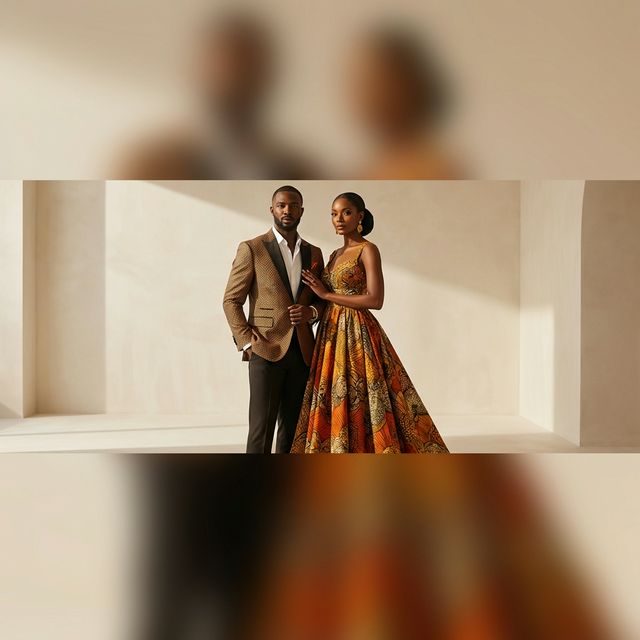
For a contemporary birthday party or evening gathering, a sego gele in a bold or complementary colour can be worn more loosely and expressively, with a wider fan and less rigid structure.
The fabric you choose communicates before you say a word. Aso-oke reads as ceremony. Swiss voile reads as modern elegance. Sego reads as confident and contemporary. Match the fabric to the moment.
When to Book a Professional
If you are at the centre of the occasion — the celebrant, the bride's mother, the honouree — book a gele artist. This is not a concession. It is a practical decision that no one in the room will fault you for. A professional can achieve heights and shapes that require a level of daily practice most people will never accumulate, and they will do it in minutes, using materials they know and trust.
If you are a guest who wants to look impeccable without the stress of a mirror and pins at 6am, the same logic applies. A gele artist charges a modest fee for a service that will outlast the event in every photograph taken that day.
But if you are building the skill for yourself — for all the owambes, the namings, the weddings and birthday parties still ahead — start practising now. Begin with the basic fan. Get the base wrap comfortable and consistent. Build from there, one occasion at a time.
Wear It Like You Mean It
The gele carries the history of every woman who wore one before you. The weavers in Iseyin who created the Aso-oke on narrow looms. The grandmothers who tied their geles without mirrors, by feel and memory alone. The aunties who could read the quality of a cloth before they even saw the colour.
When you wear it well, you are not simply completing a look. You are continuing something that matters.
Building your full owambe wardrobe? Browse our ready-to-wear collection for pieces that pair beautifully with a statement gele — or book a bespoke consultation if you want a complete ensemble designed around your vision and your occasion.